This page has been set up to share photos & video relating to the "Site Preparation" chapter of "Step By Step, A Tree Planter's Handbook." Visit www.replant.ca/books to see books about tree planting.
An example of a "Raw" or "Plant As Is" or "Untreated" block, ie. one that has not had any special site preparation done before planting.
A planter working on another raw block.
An example of some trenching.
More trenching. This photo was taken on a block in Kamloops.
More trenching. This photo was taken on a block in Williams Lake.
And even more trenching. This photo was taken on a block in Quesnel.
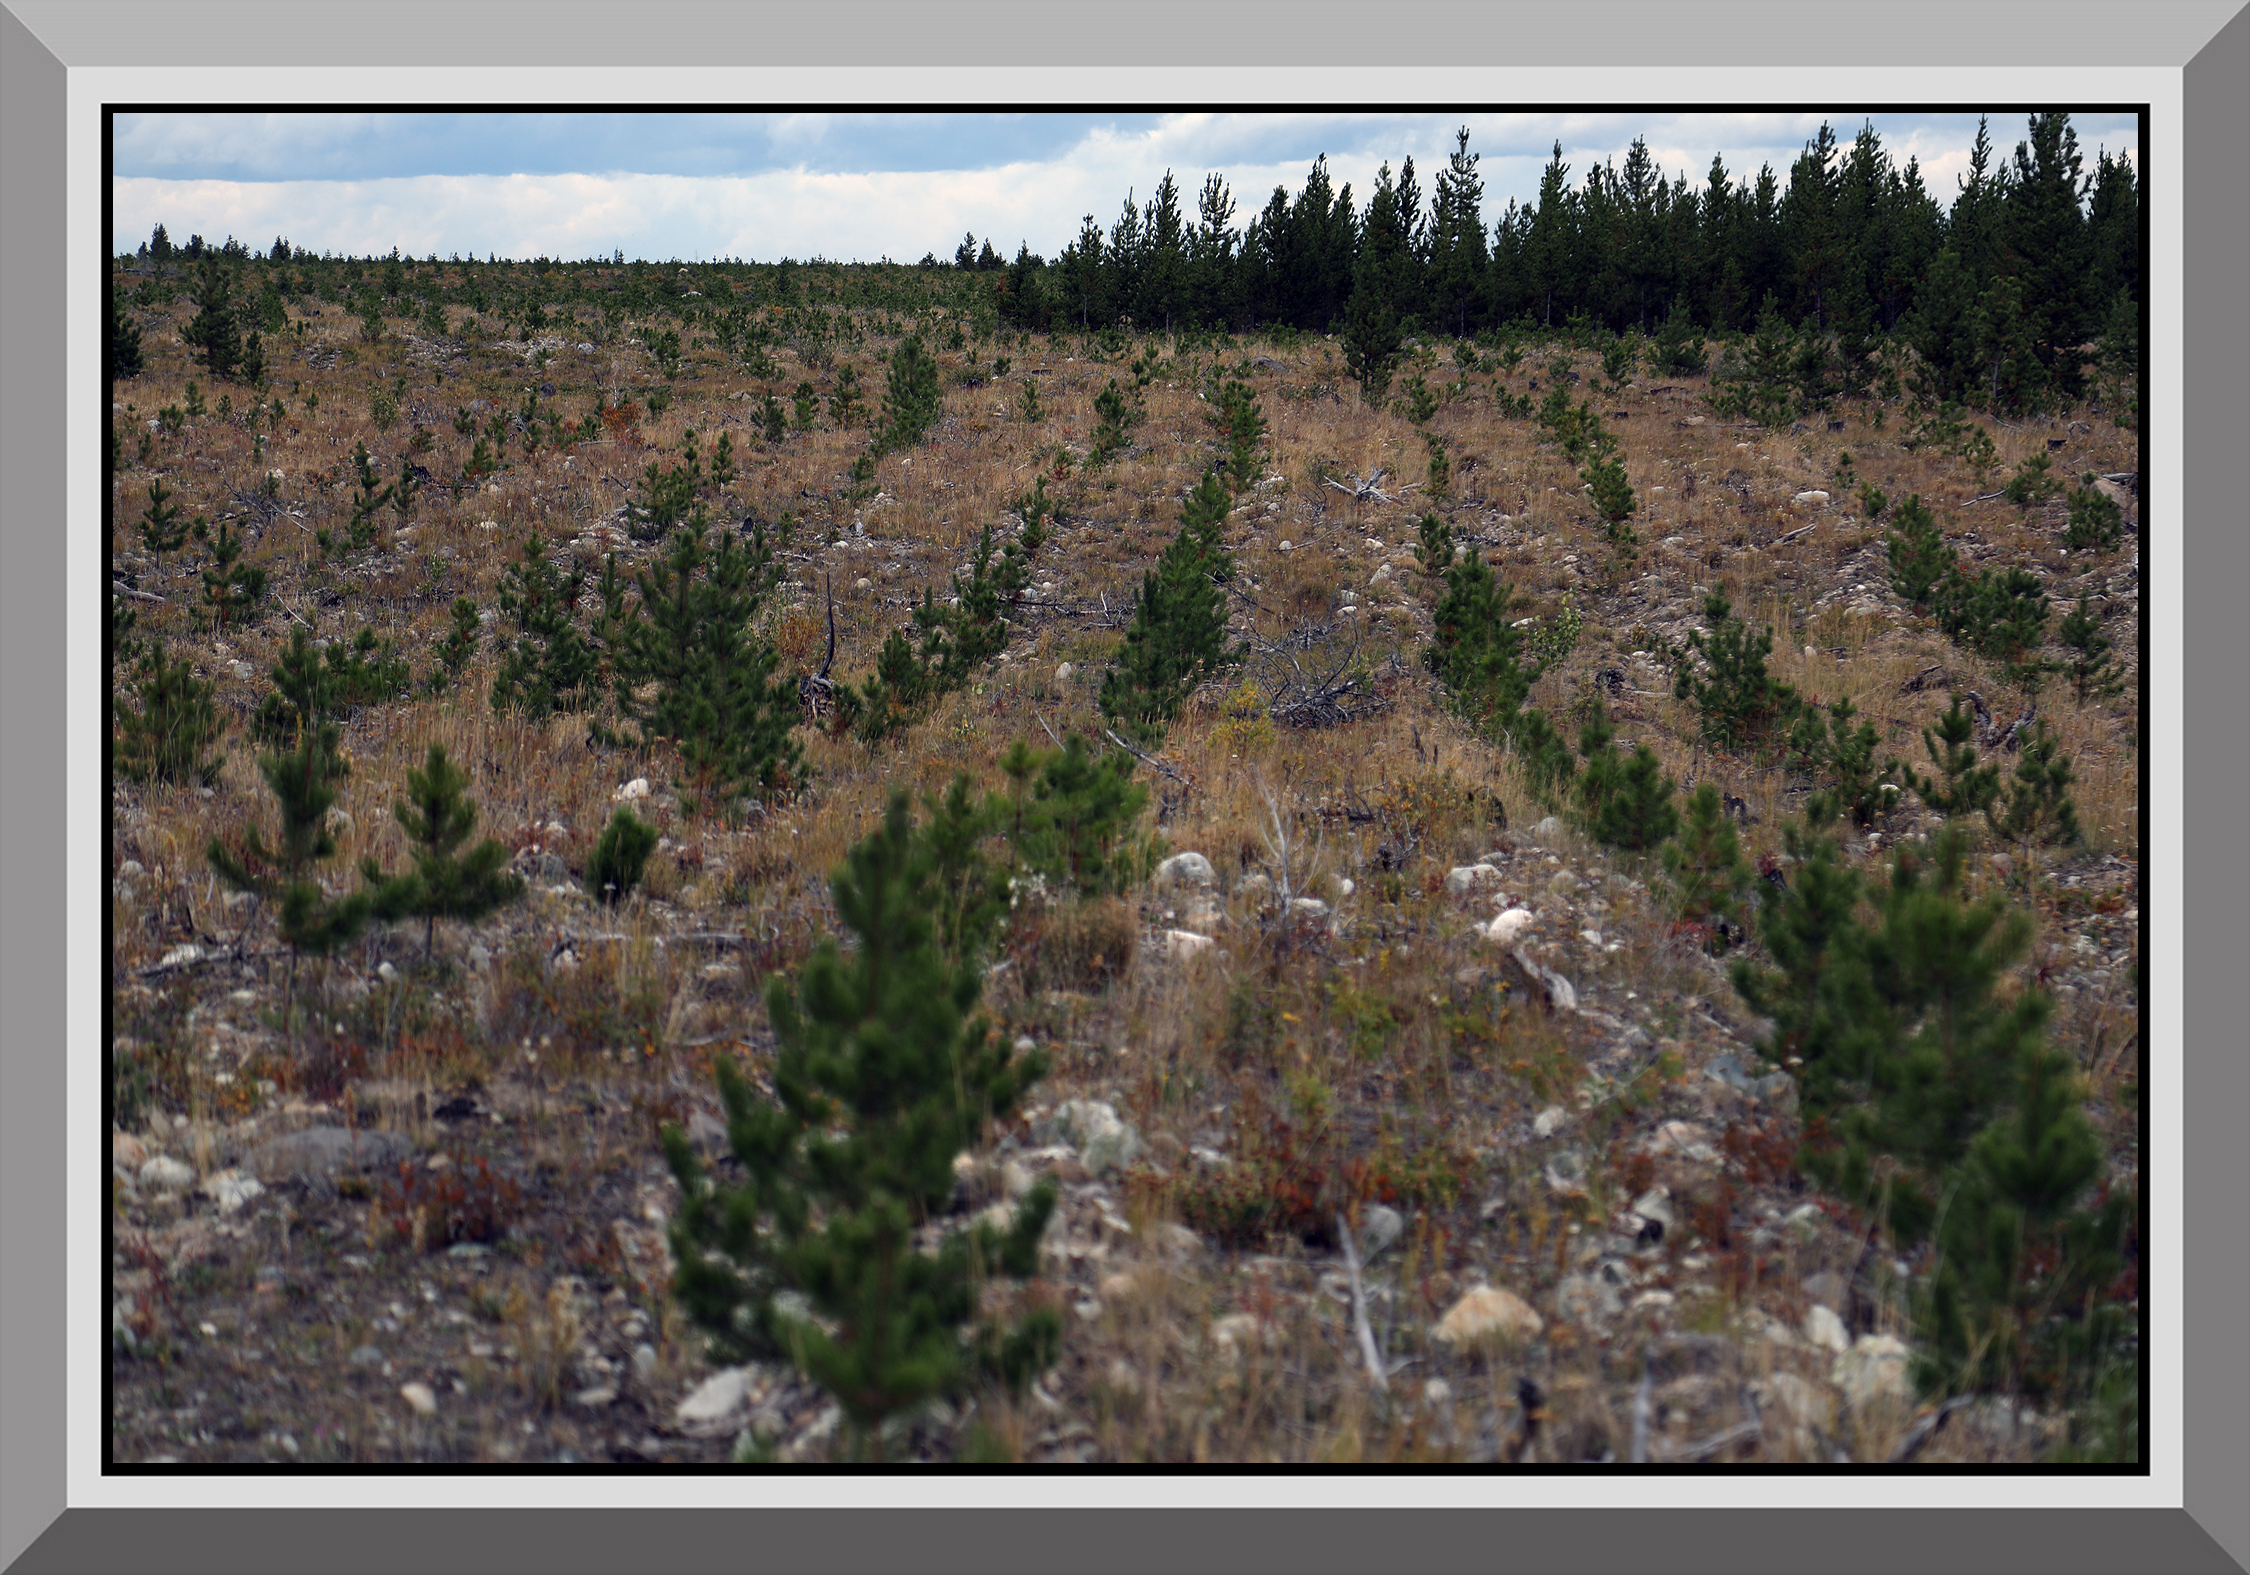
This block was planted a few years ago. Although this photo doesn't show the trenches as clearly as the last several, the young trees still give a good visual for how the trenching was planted. It is obvious in this example that very few trees are growing outside of the trenches.
These are the "discs" that give disc trenching its name. These discs are attached to the back of a skidder or other piece of heavy equipment, and as the machine travels across the block, the discs spin and cut the trenches into the ground.
Here's another photo of a disc used to make trenches.
Here's a photo of a skidder with two trenching discs attached. It's also possible to attach three discs to a larger machine, which allows the operator to cover ground more quickly.
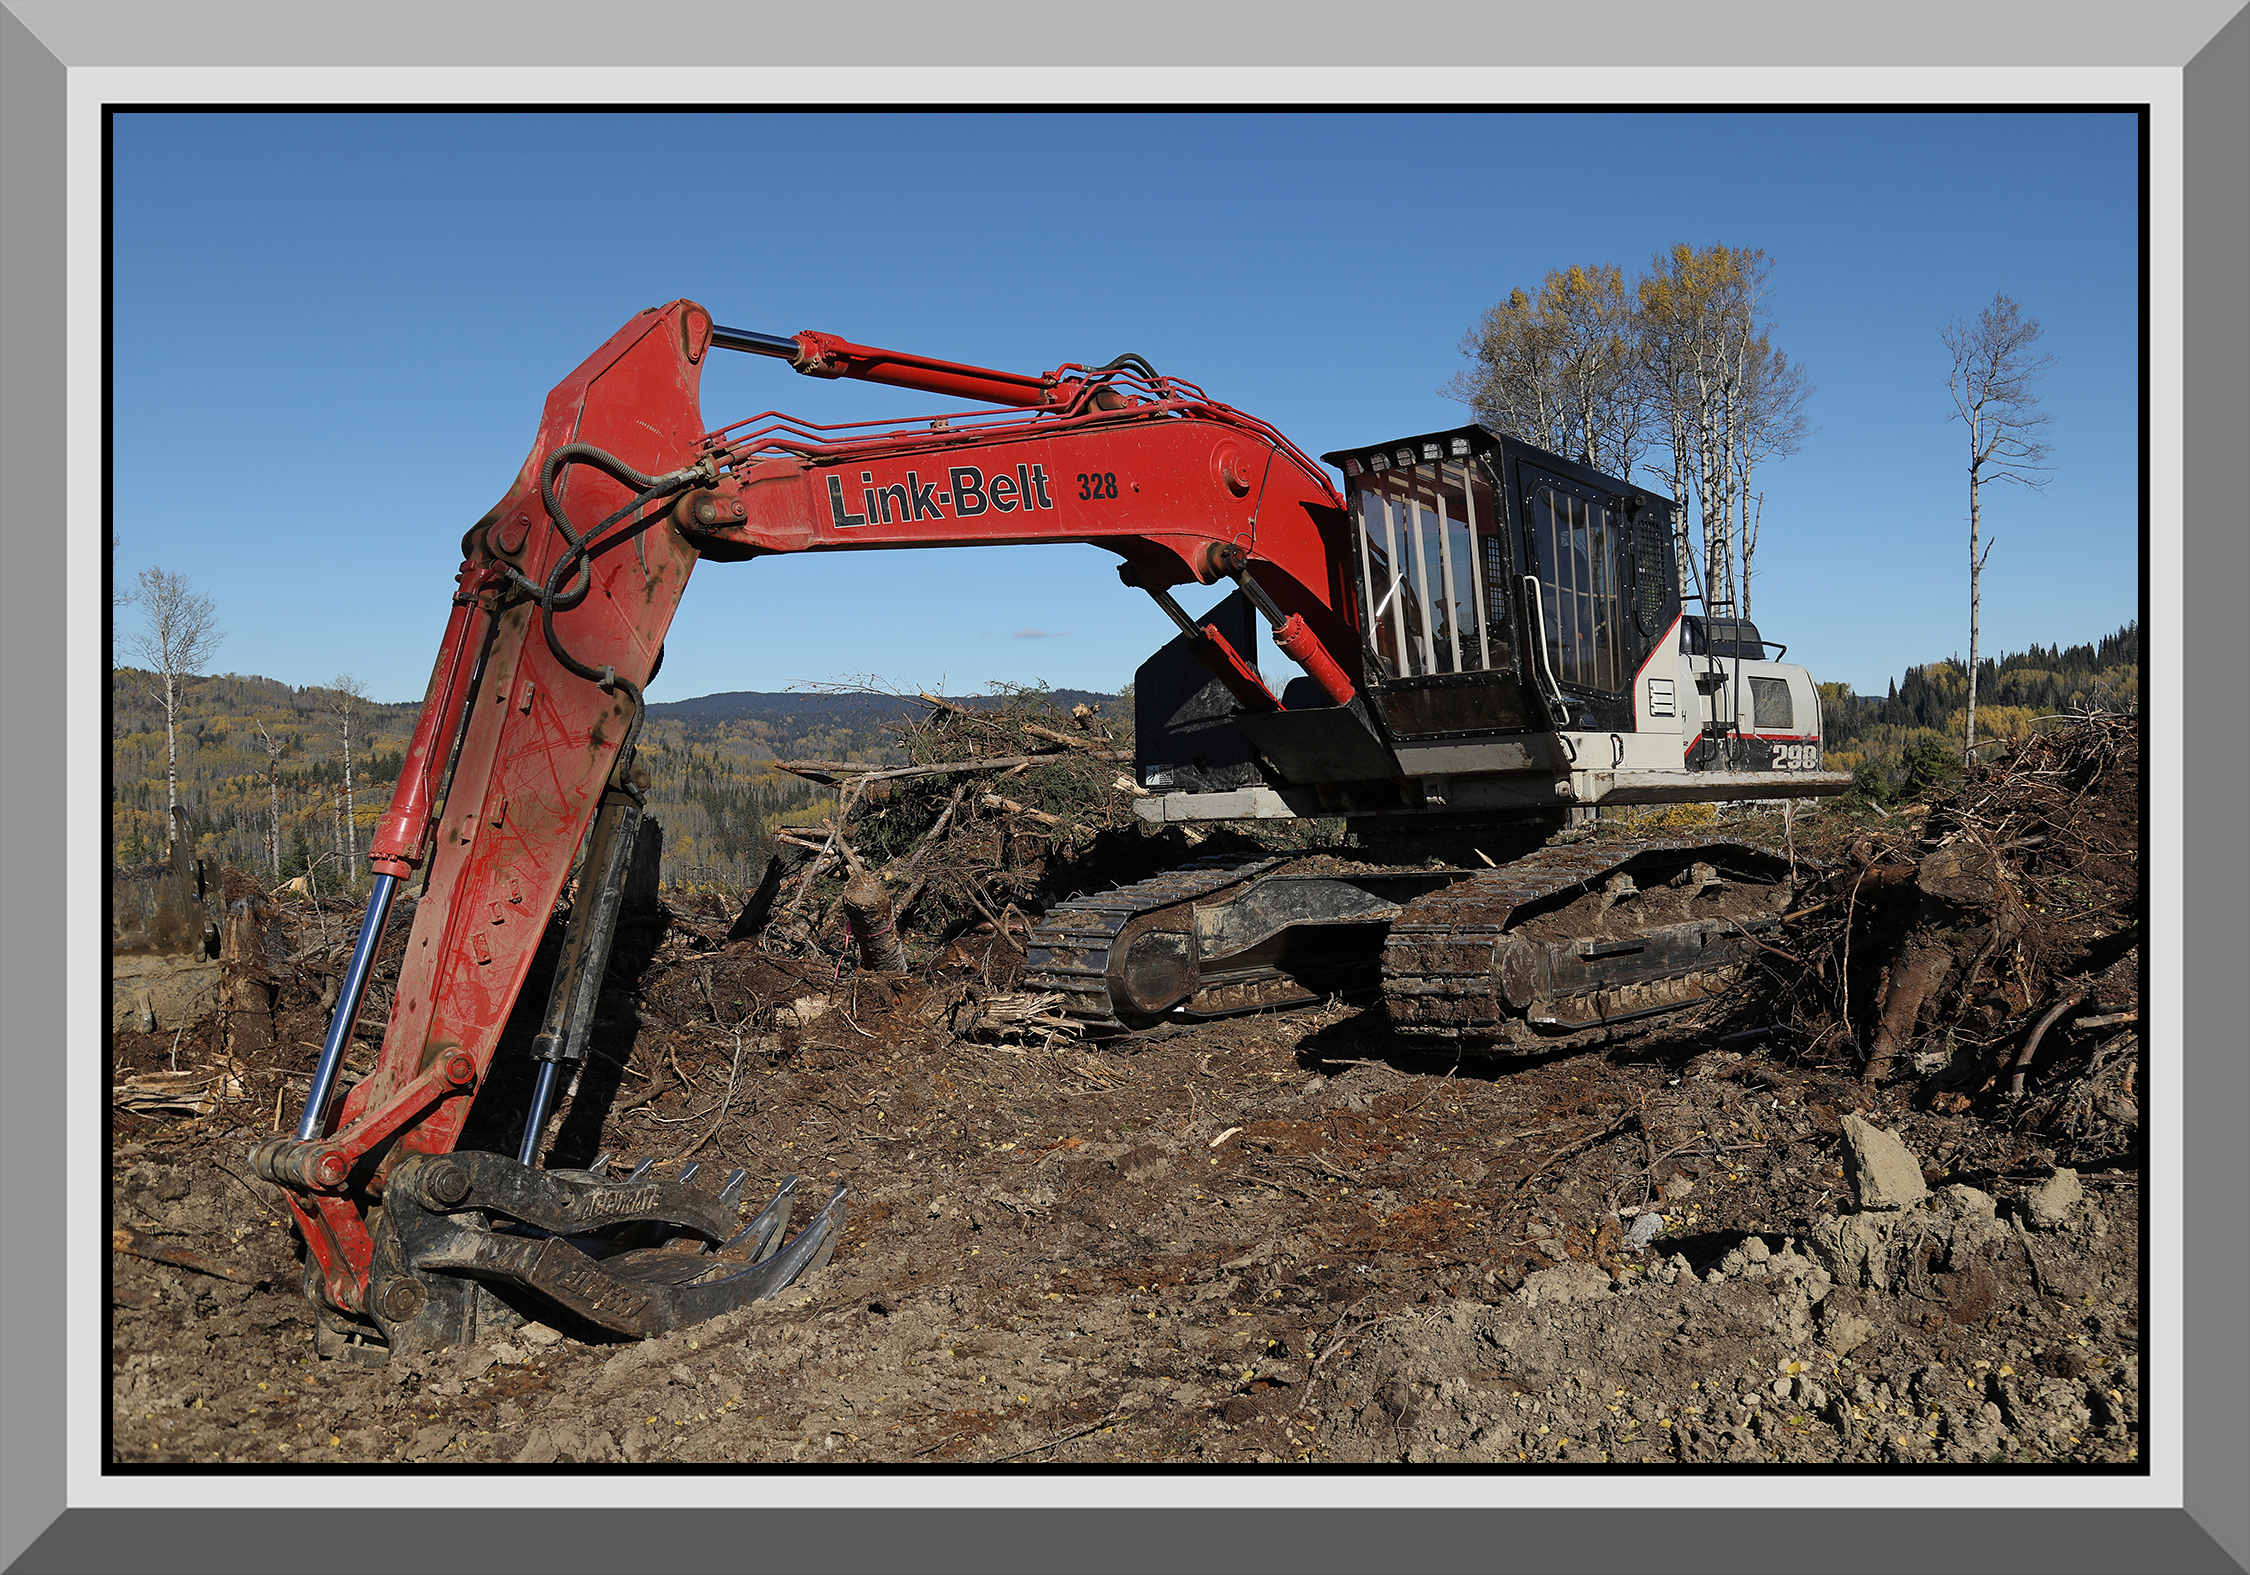
Sometimes, instead of proper disc-trenching, a planter will work in rips. This bulldozer may be configured to create rips. The dozer would drive over the block (crushing slash as it travelled) and a tooth behind the machine would create a rip through the block which is similar to a trench but not as well-defined. It's very difficult for a disc-trencher to create trenches when the ground is frozen, but a dozer is strong enough to make rips through frozen ground. Disc-trenching is generally prefered by foresters (especially where raised microsites are important). However, when asking a forester in the fall what to expect on a series of blocks for the following year, it's common to hear, "I'm hoping for disc-trenching and mounds, but if the machines don't get the prep done in time, you might have to expect winter rips."
The slope of the ground can affect the type of site preparation. Some machines cannot work on steep slopes. This map gives a rough indication of the various slopes in different parts of the block. A disc trencher isn't usually able to work on moderately steep hills or side slopes, so if you find a steep hill within your trenched block, it may have been left as raw ground.
This map shows the minimum, maximum, and average slopes on this particular block.
With proper disc-trenching, it becomes easier to see which side of any given trench is the outside "flip" side, and which is the inside "cut" side. The optimum way of determining this is for the trenches to have been created properly, so a visual inspection is sufficient to figure it out. If the trenches are messy, and if the machine that made them was carrying two discs, it sometimes helps to look at the adjoining trench (which is probably flipped in the opposite direction) for clues. Of course, if a machine is running with three discs, you can't rely on the "next trench over" trick. This photo shows two very nice trenches. It's quite obvious that the machine drove up the middle of the photo, and the dirt in each trench was flipped away from the centerline of the machine's track.
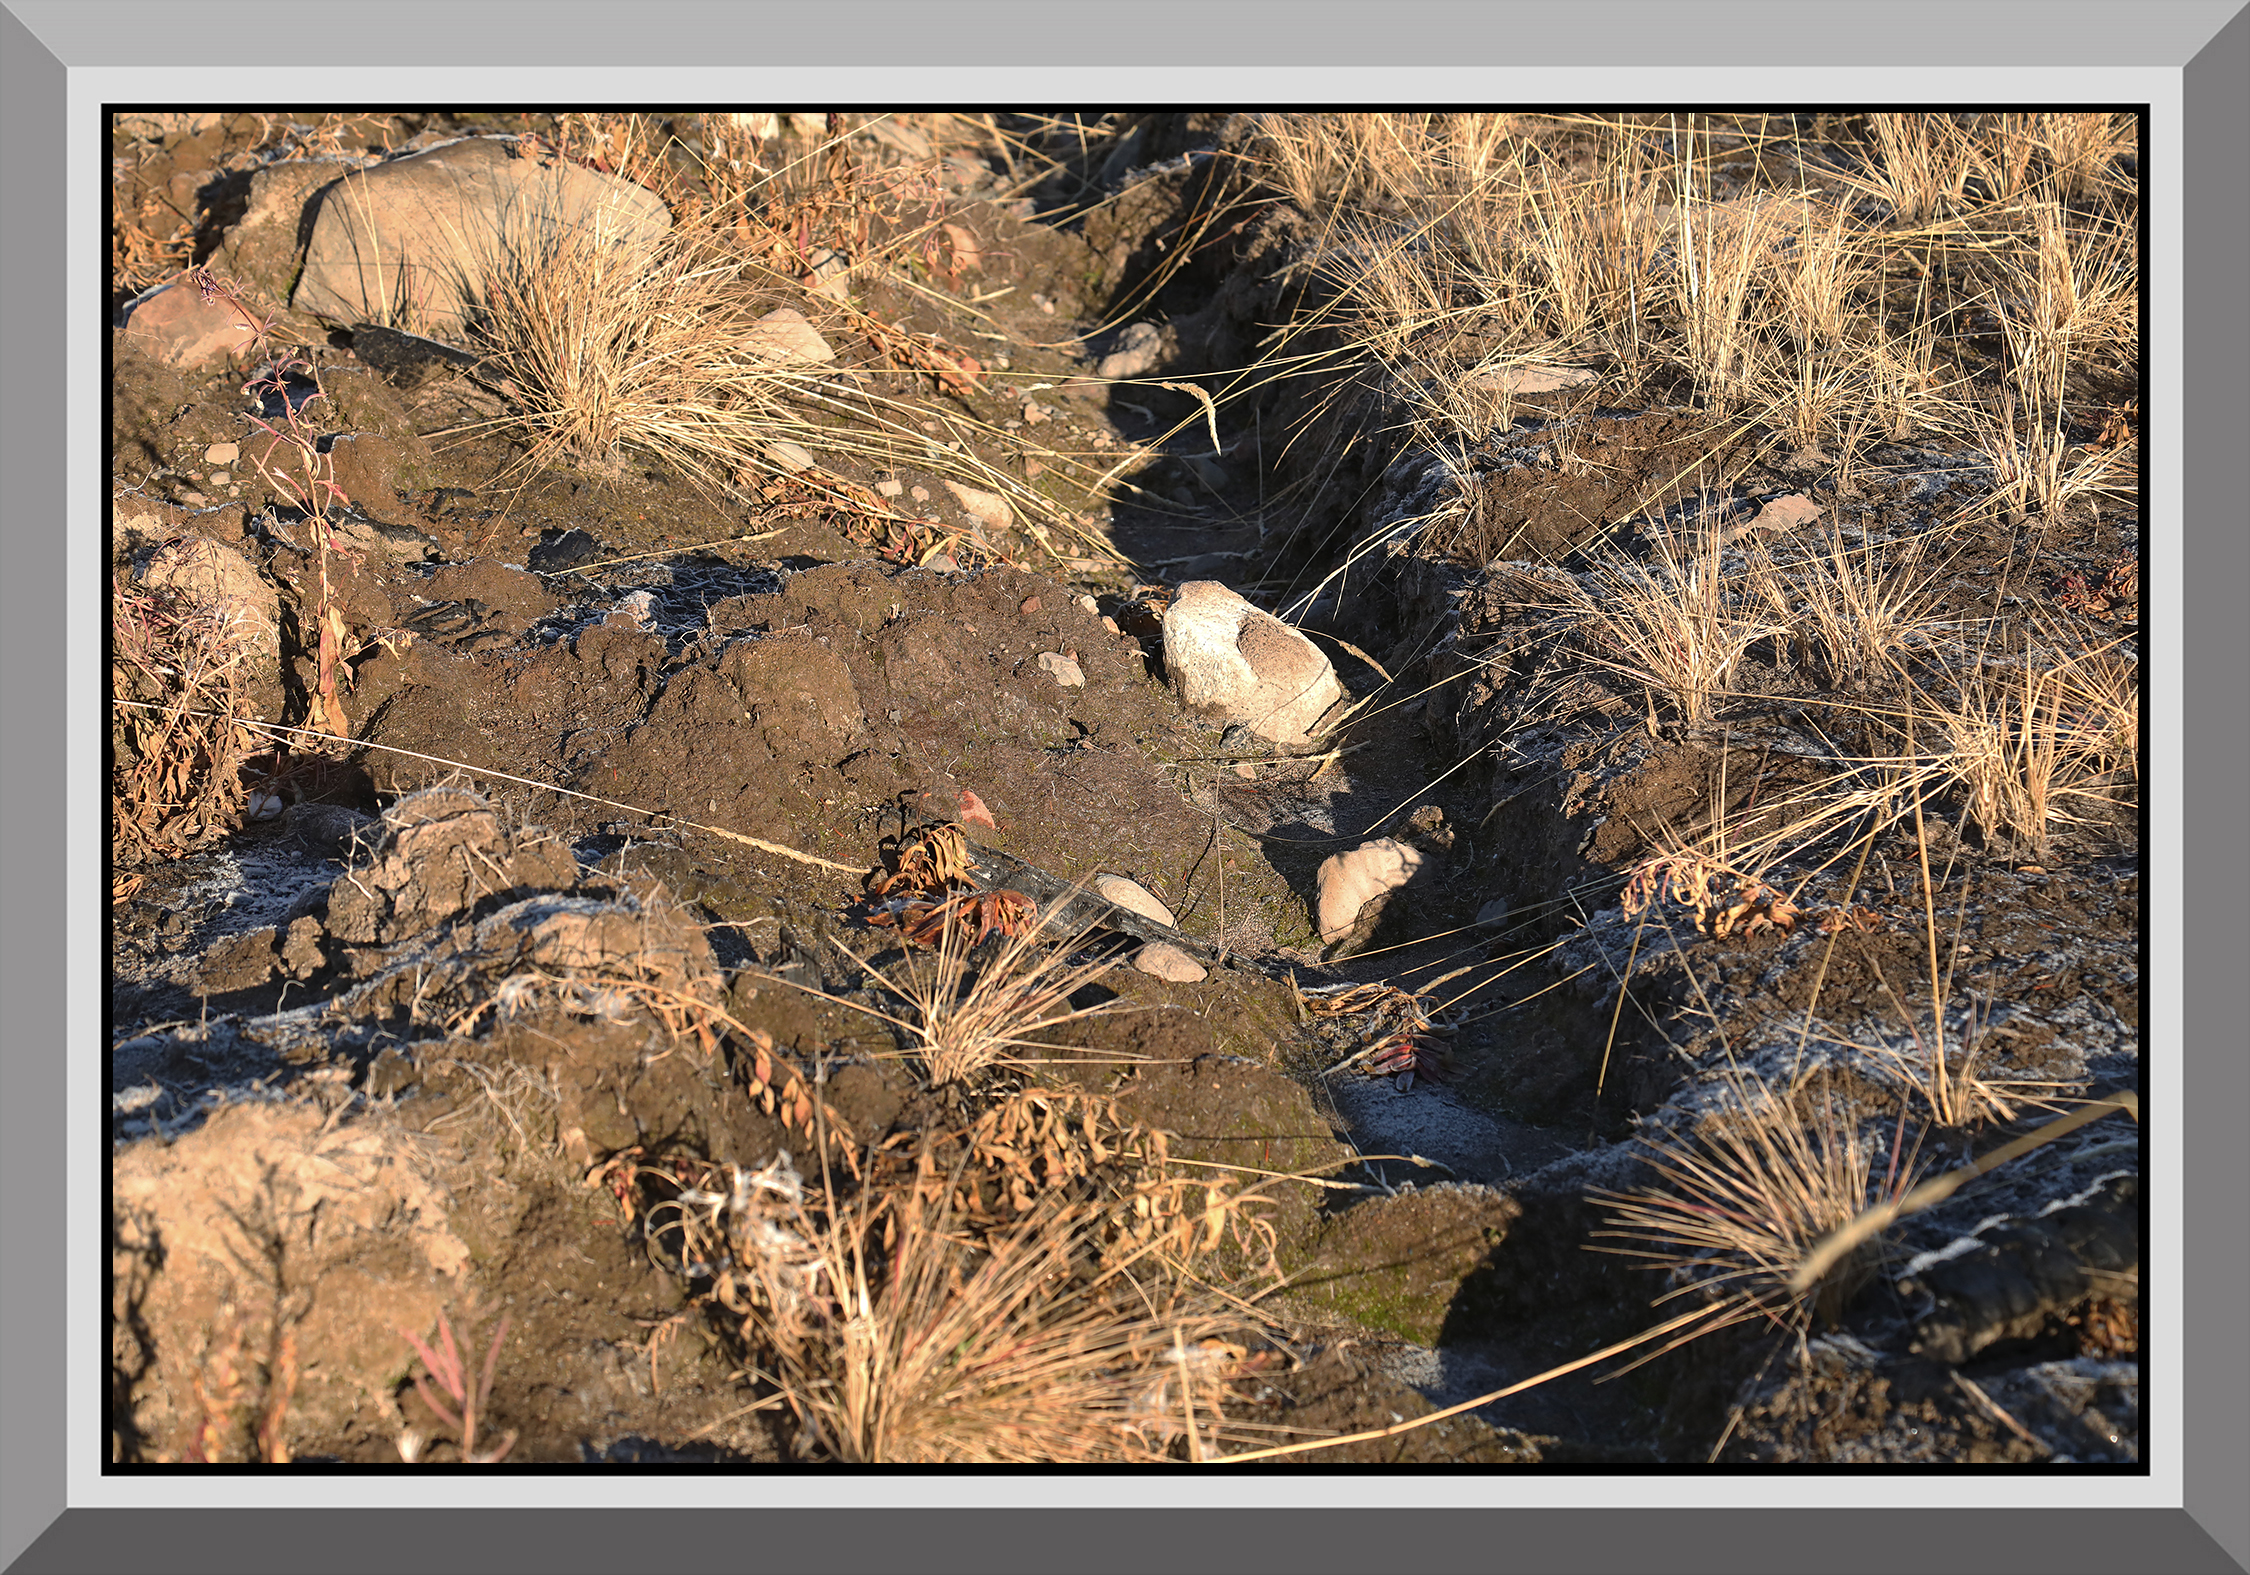
This close-up of one of the trenches show a very distinct "cut" side on the right, and a "flip" side on the left. Foresters almost never want trees planted on the cut side. If you're working in an area where high spots are emphasized, the forester wants the trees planted on the flip, to take advantage of the high spots. If you're working in an area where low spots are emphasized, perhaps due to cattle or dessication/drought, the forester will want the seedlings planted down in the bottom of the trench. Either way, trees planted on the cut side are usually frowned upon.
If the forester on this job is looking for high spots, this tree will be a winner. This tree has perfect placement at the top of the flip.
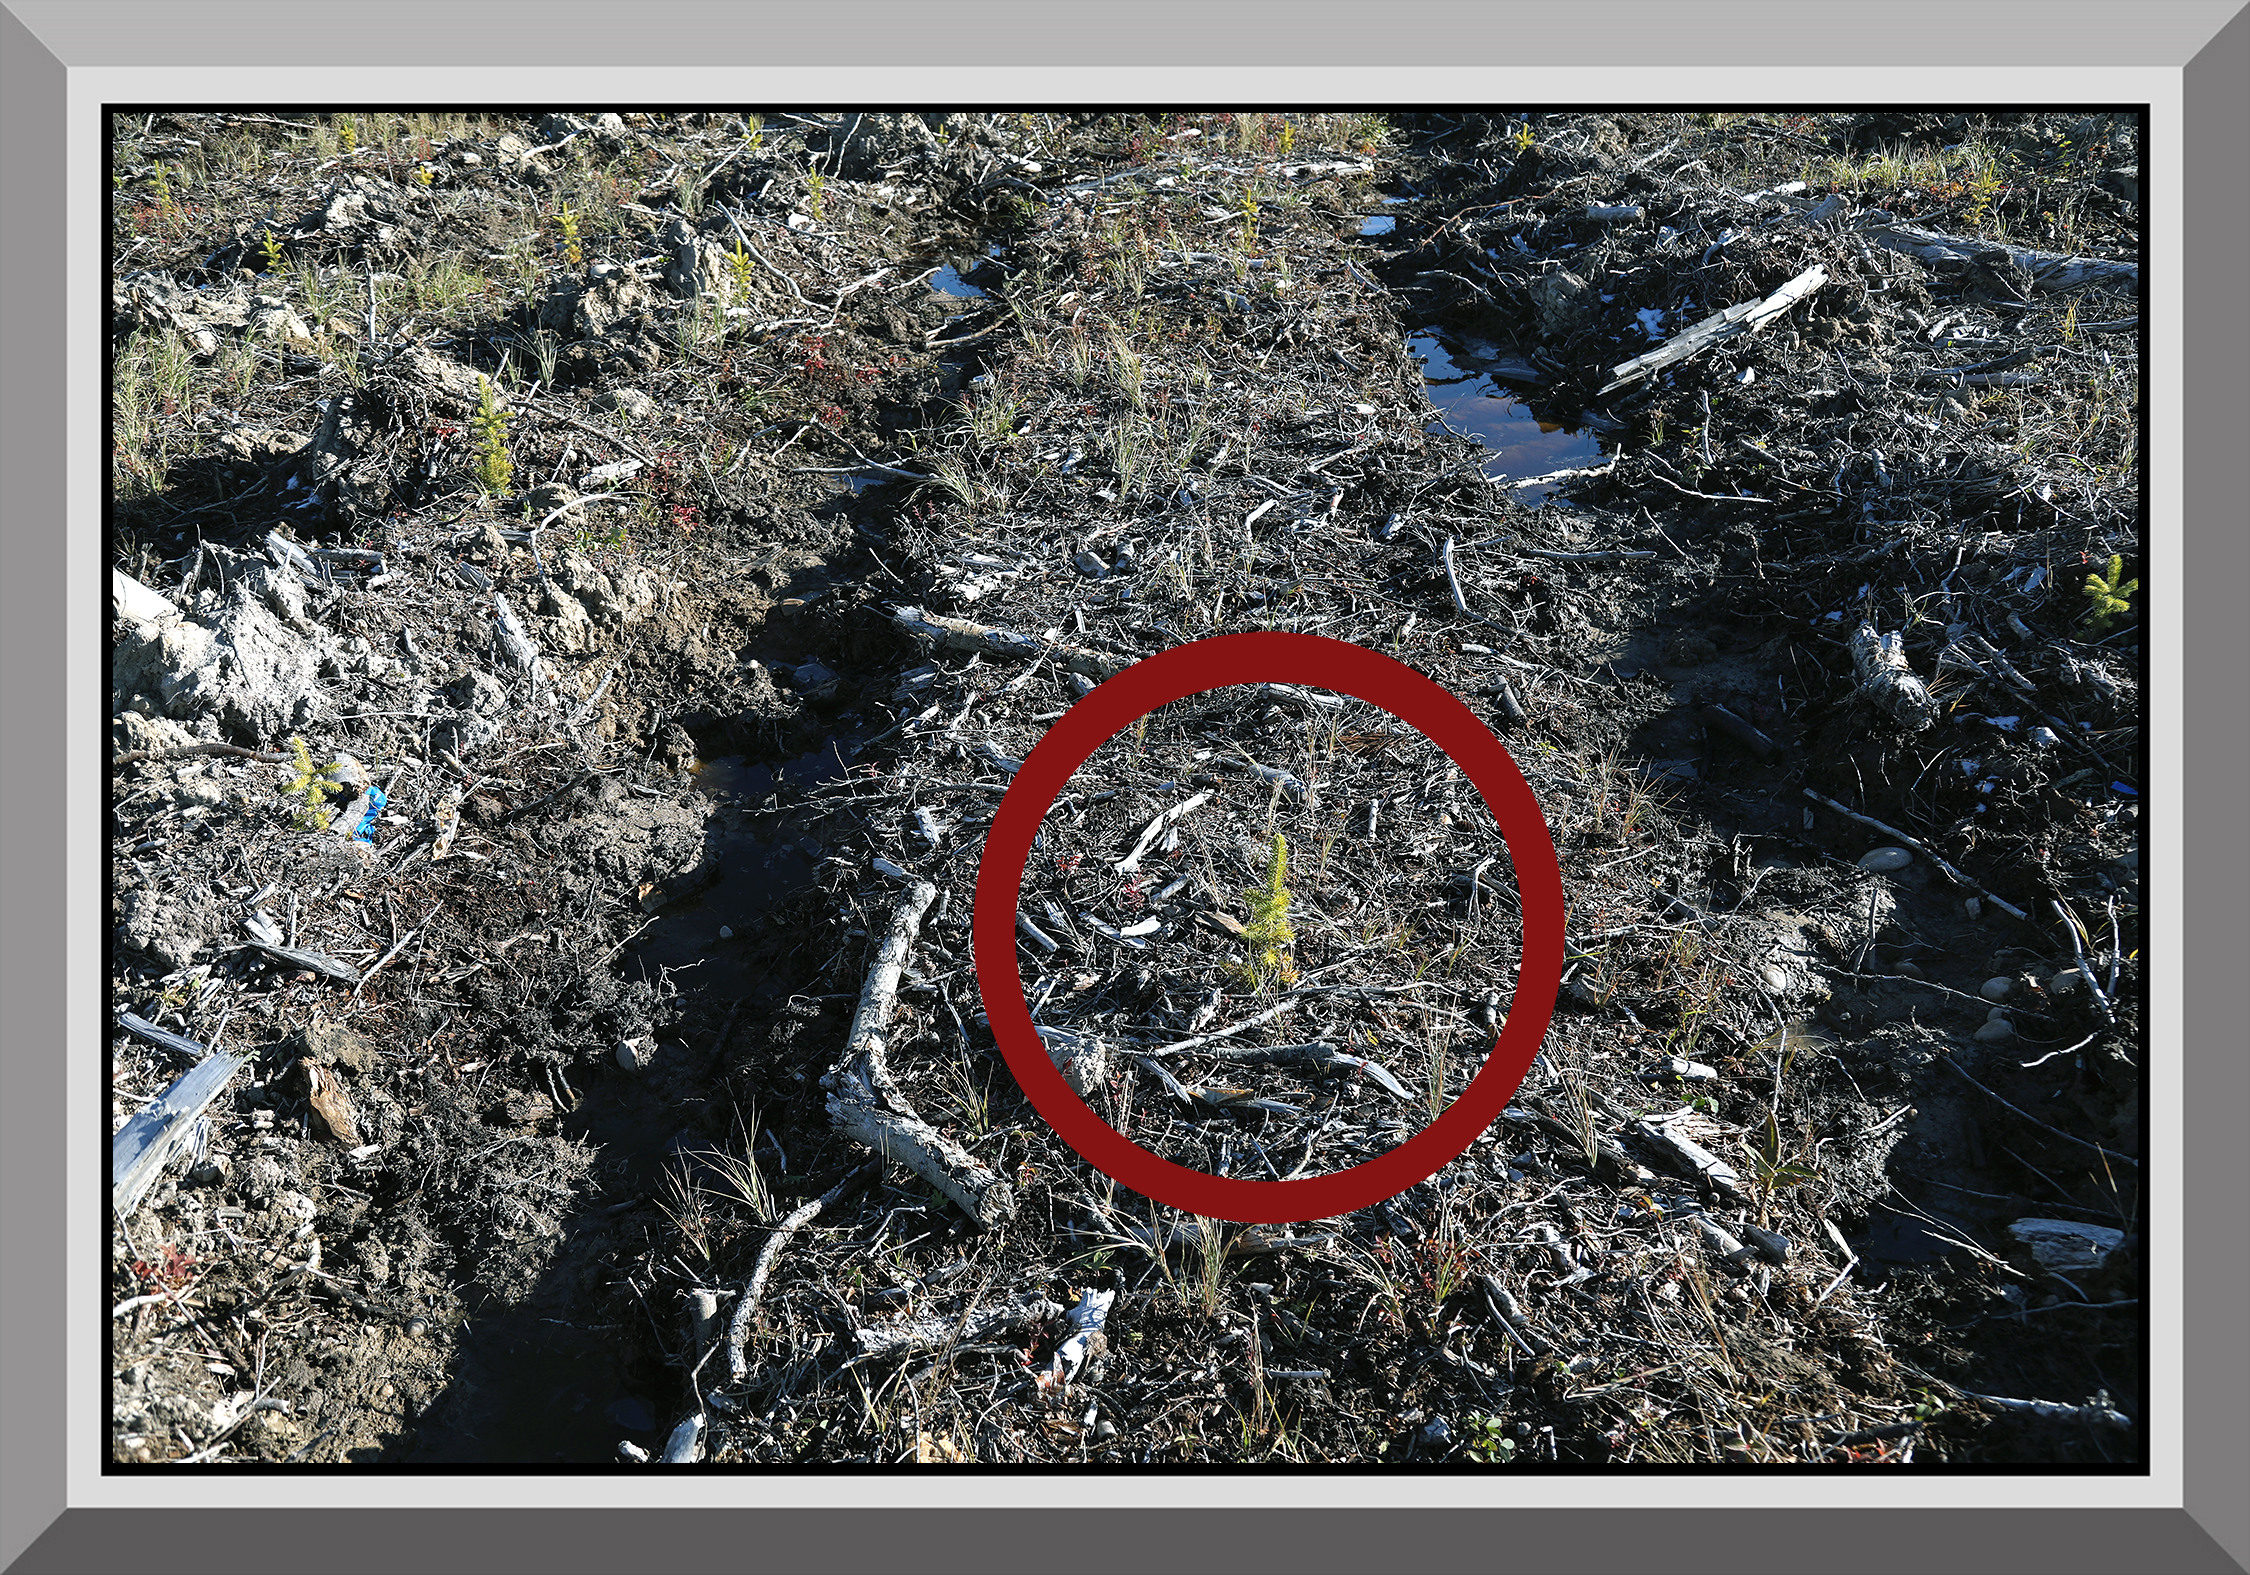
In some areas, foresters don't want trees on the very top of the flip, because the soil tends to dry out and may contain too much litter and grass mat. If that's the case, they might ask for trees to be planted on the hinge. The hinge is "the highest spot in a trench which is still at normal ground level." This tree is planted on the hinge. You can see how the hinge has certain advantages. For one thing, all of the competing grass and vegetation has been cleared to create a microsite, essentially giving the planter a "free screef." In this example, it's also easy to see that the soil up to the hinge is retaining moisture for the plug, whereas the upper flip soil has dried out.
This photo shows a tree planted on the wrong side of the trench (the cut side).
Although it may be necessary on occasional projects to plant some trees on the cut side, in order to meet minimum overall density without having trees closer than the permitted minimum spacing, planting trees on the cut side of the trench is usually frowned upon.
When it does become necessary to plant an occasional tree between trenches, in order to meet minimum density requirements, it is common for the "in-betweeners" to be in the middle area between two trenches. This is an example of a good tree between two trenches. The planter probably felt that this tree was necessary in order to have enough trees if a plot landed there. Although trees are permitted to be planted between trenches, and sometimes can't be helped to meet density requirements, it's to the planters advantage to try to figure out an appropriate spacing to take advantage of the prep as much as possible. It's usually easier to plant a tree in a trench than between trenches. Also, the forester spent a lot of money to pay for the site prep, and wants you to take advantage of it.
This type of trenching, which isn't as common, was made by a machine that flips dirt up to both sides simultaneously in a well-defined small furrow.
Wouldn't it be great if all trenched blocks looked this nice?
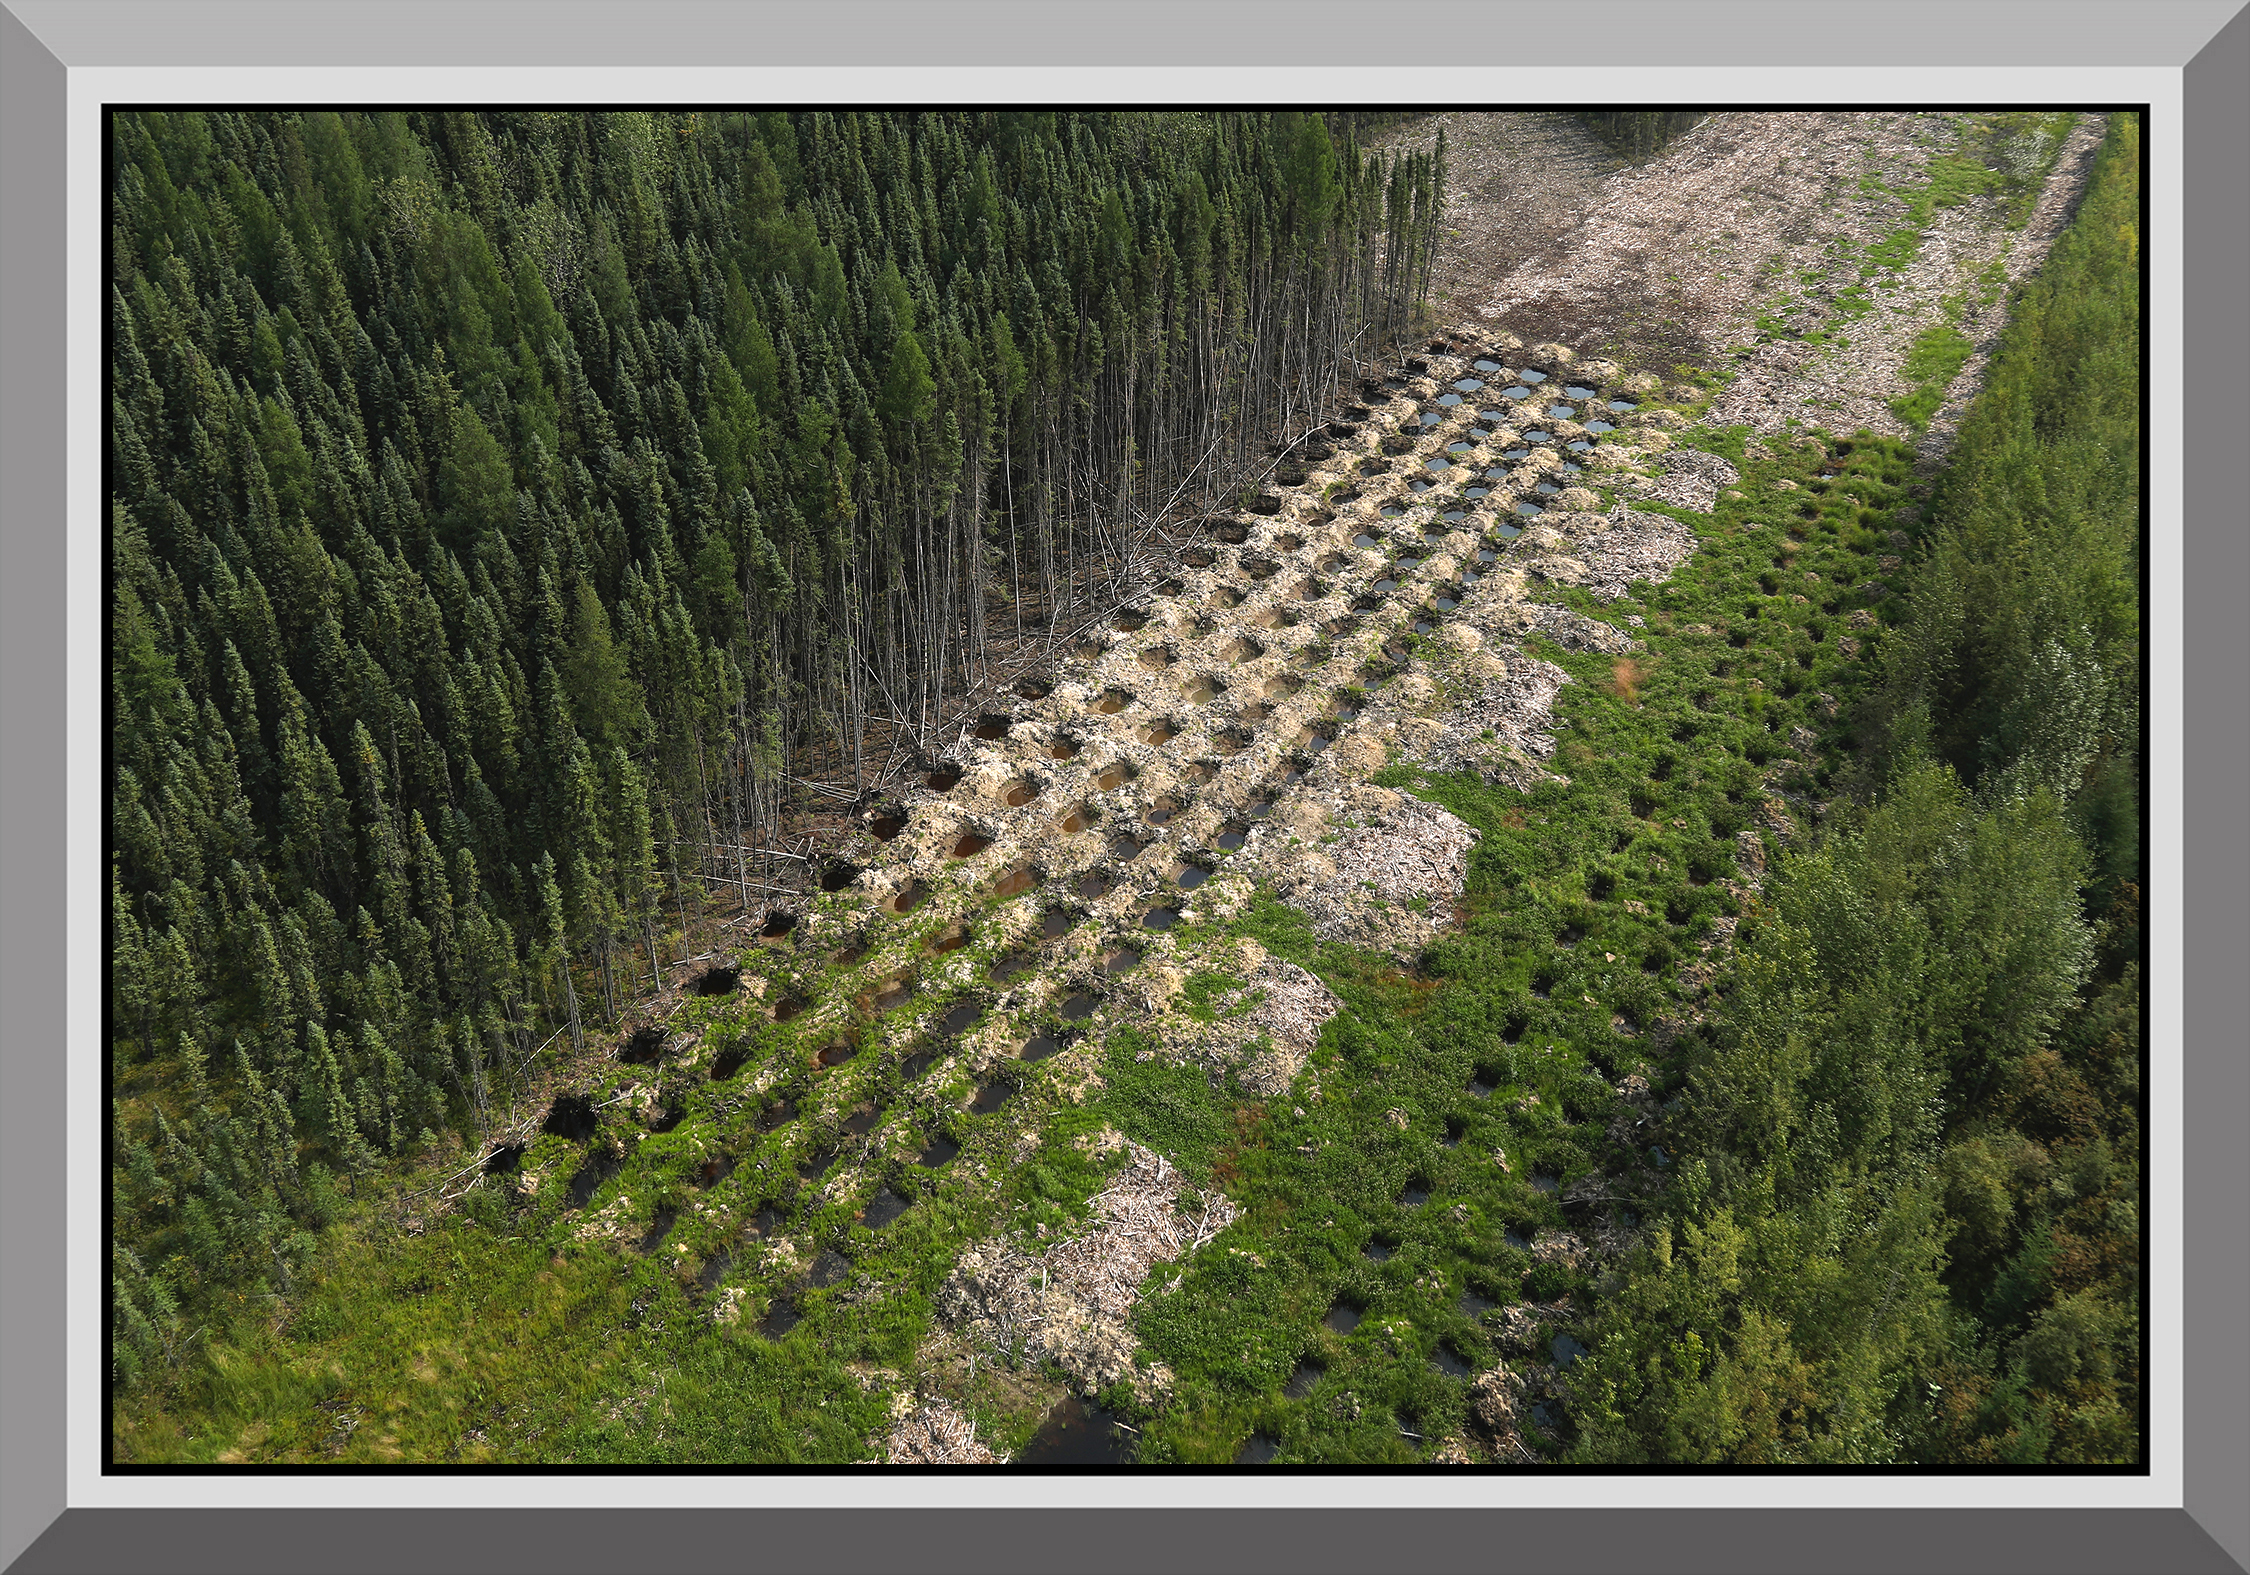
These mounds, photographed from a helicopter, were probably made by an excavator. The fact that they're in perfectly straight lines is deceiving, because excavator mounds are usually a random mess, but I believe that these were made by a very fastidious machine operator who was instructed to make perfect rows for test purposes.
Here's another example of the same type of mounding, in the same area. Again, the fact that they are in perfectly straight lines would lead one to assume that they were made by a donaren mounder, but a close examination made me decide that they were probably made by an excavator, due to the bucket-dug shape of the holes.
This type of mounding is called excavator mounds. They're made one at a time, with an excavator.
Here are some more excavator mounds, on a different project.
These excavator mounds are huge! Is there really any need for this? The planters will need to put two or three trees on each mound in order to hit their target density.
This skidder has no site-prep equipment attached at the moment, but at least it lets you see what one type of skidder can look like.
This skidder has two mound-making attachments on the back of the machine. As the machine drives around the block, it keeps making lines of mounds behind it. These are called donaren mounds.
Here's another example of a machine set up to make donaren mounds.
This is a closer look at the attachment used to make donaren mounds.
Here are a few rows of donaren mounds, running away from the camera. They're not perfectly straight, because the machine sometimes twists and turns as it travels, but they look pretty good.
This is a donaren mounded block that is a few years old, so the grass has started to grow up between the mounds. This makes it easier to see the rows of mounds.
These donaren mounds don't look too good. They're a bit messy, and the water between the mounds shouldn't be a big issue, but planters will still want to watch their footing so they don't get a booter.
Here's a closeup of a single donaren mound. This one is probably only a few months old. When mounds are first made, they are often fairly clay-like and have a lot of cracks in them. By the time spring comes around, the winter moisture and frost will have softened the mound up so it has more of a smooth surface.
Here's a photo of a scrape-making machine. The process of making scrapes is very similar to that of making excavator mounds, except that the goal isn't to make a pile of dirt to plant the seedling in. Instead, the scrape simply moves the surface material (litter/duff/organics) out of the way, rather than trying to create a hole and pile of dirt, then the tree is planted in this cleared scrape. Essentially then, a scrape is like a giant screef.
Here's a close-up of the attachment used to create scrapes.
Although this attachment is intended to create scrapes, it's also possible to make shallow excavator mounds with the same attachment. However, since there isn't a proper bucket to scoop up the soil, it is much more appropriate for shallow scrapes.
On a block with windrows, all of the slash is pushed into long piles, revealing a very clean area between the piles.
Here's a photo of some windrows from above.
Here's a photo that shows some stumped ground. A machine pulls out the stumps and flips them upside down, to dry out the roots and to kill any fungal infections that might be present, to minimize the chance that these diseases can be passed on to the new plantation. Foresters will often ask planters to put trees on the edges of the stump holes, to take advantage of the natural "screefing" that is provided. Planters are happy to comply, because it's easier to plant the tree in the exposed dirt than in grass elsewhere. The only drawback with stumping ground is that there are rarely enough stumps to match the target density of the block, so it's typical that planters need to plant a lot of trees in raw ground between the stumps, in order to meet their minimum density requirements.
Although it may not be easy to see in this photo, this block has undergone a drag scarification treatment. The machine doing the dragging has managed to break up some of the slash, and flatten it all down onto the surface.
This is the equipment that does the dragging. It is quite heavy. It gets attached to a piece of heavy equipment, and is then dragged around the block to break up the slash.
Here's another photo of some chain-drag equipment.
The attachments on the front of this bulldozer are probably designed to clean slash up into slash piles. It looks like they would scoop up slash and logs quite easily, and allow the dozer to push them around. If the dozer lifted its blade more, it could simply drive over the slash and crush it in place, very similar to what happens with chain drag scarification.
This photo demonstrates the potential efficacy of herbicides that kill grasses that compete with seedlings (but do not target the seedlings themselves).
Some parts of this block have been herbicided.
These planters are working on the edge of a block that has been herbicided. Unfortunately, the herbicide didn't cover the entire block, so the planters have to work through a very grassy strip around the outside edge of the block.
This block probably could stand to be herbicided, if the freshly planted trees are to thrive, considering how green it is already.
Here is a helicopter doing an aerial spray application.
Glyphosate is a type of herbicide that is commonly used in forestry. I'll let you research it and form your own opinions.
Some herbiciding work is done by hand, by workers wearing backpacks full of the herbicide solutions.
Prescribed burning does not happen frequently anymore. It used to be a common treatment for blocks in BC in the 1980's and early 1990's.
This worker is using a hand-held drip torch. Most drip torches use a fuel mix that is combustible but not explosive, for example, two thirds diesel mixed with one third gasoline. This worker is standing on a firebreak, and lighting a second fire to burn back towards an uncontrolled wildfire.
This planter is enjoying some really fast planting in this broadcast burn.
Some blocks are selectively harvested rather than clearcut. There can be different types of selective harvesting. It is possible for the foresters to harvest all the mature trees that are contained in strips or corridors, such as in this photo. Another method would be to harvest trees from all over the block, but to only target certain types or sizes of trees.
Horse logging is an ideal way to target specific trees throughout a block, while minimizing disturbance to the ground or any remaining trees. Horse logging has much less impact on the ground than heavy machinery.
Here's a machine picking up logs from a selectively harvested block.
In this area, a strip of pine trees was left behind to provide a visual buffer, and to make it less obvious that the area behind the trees was harvested.
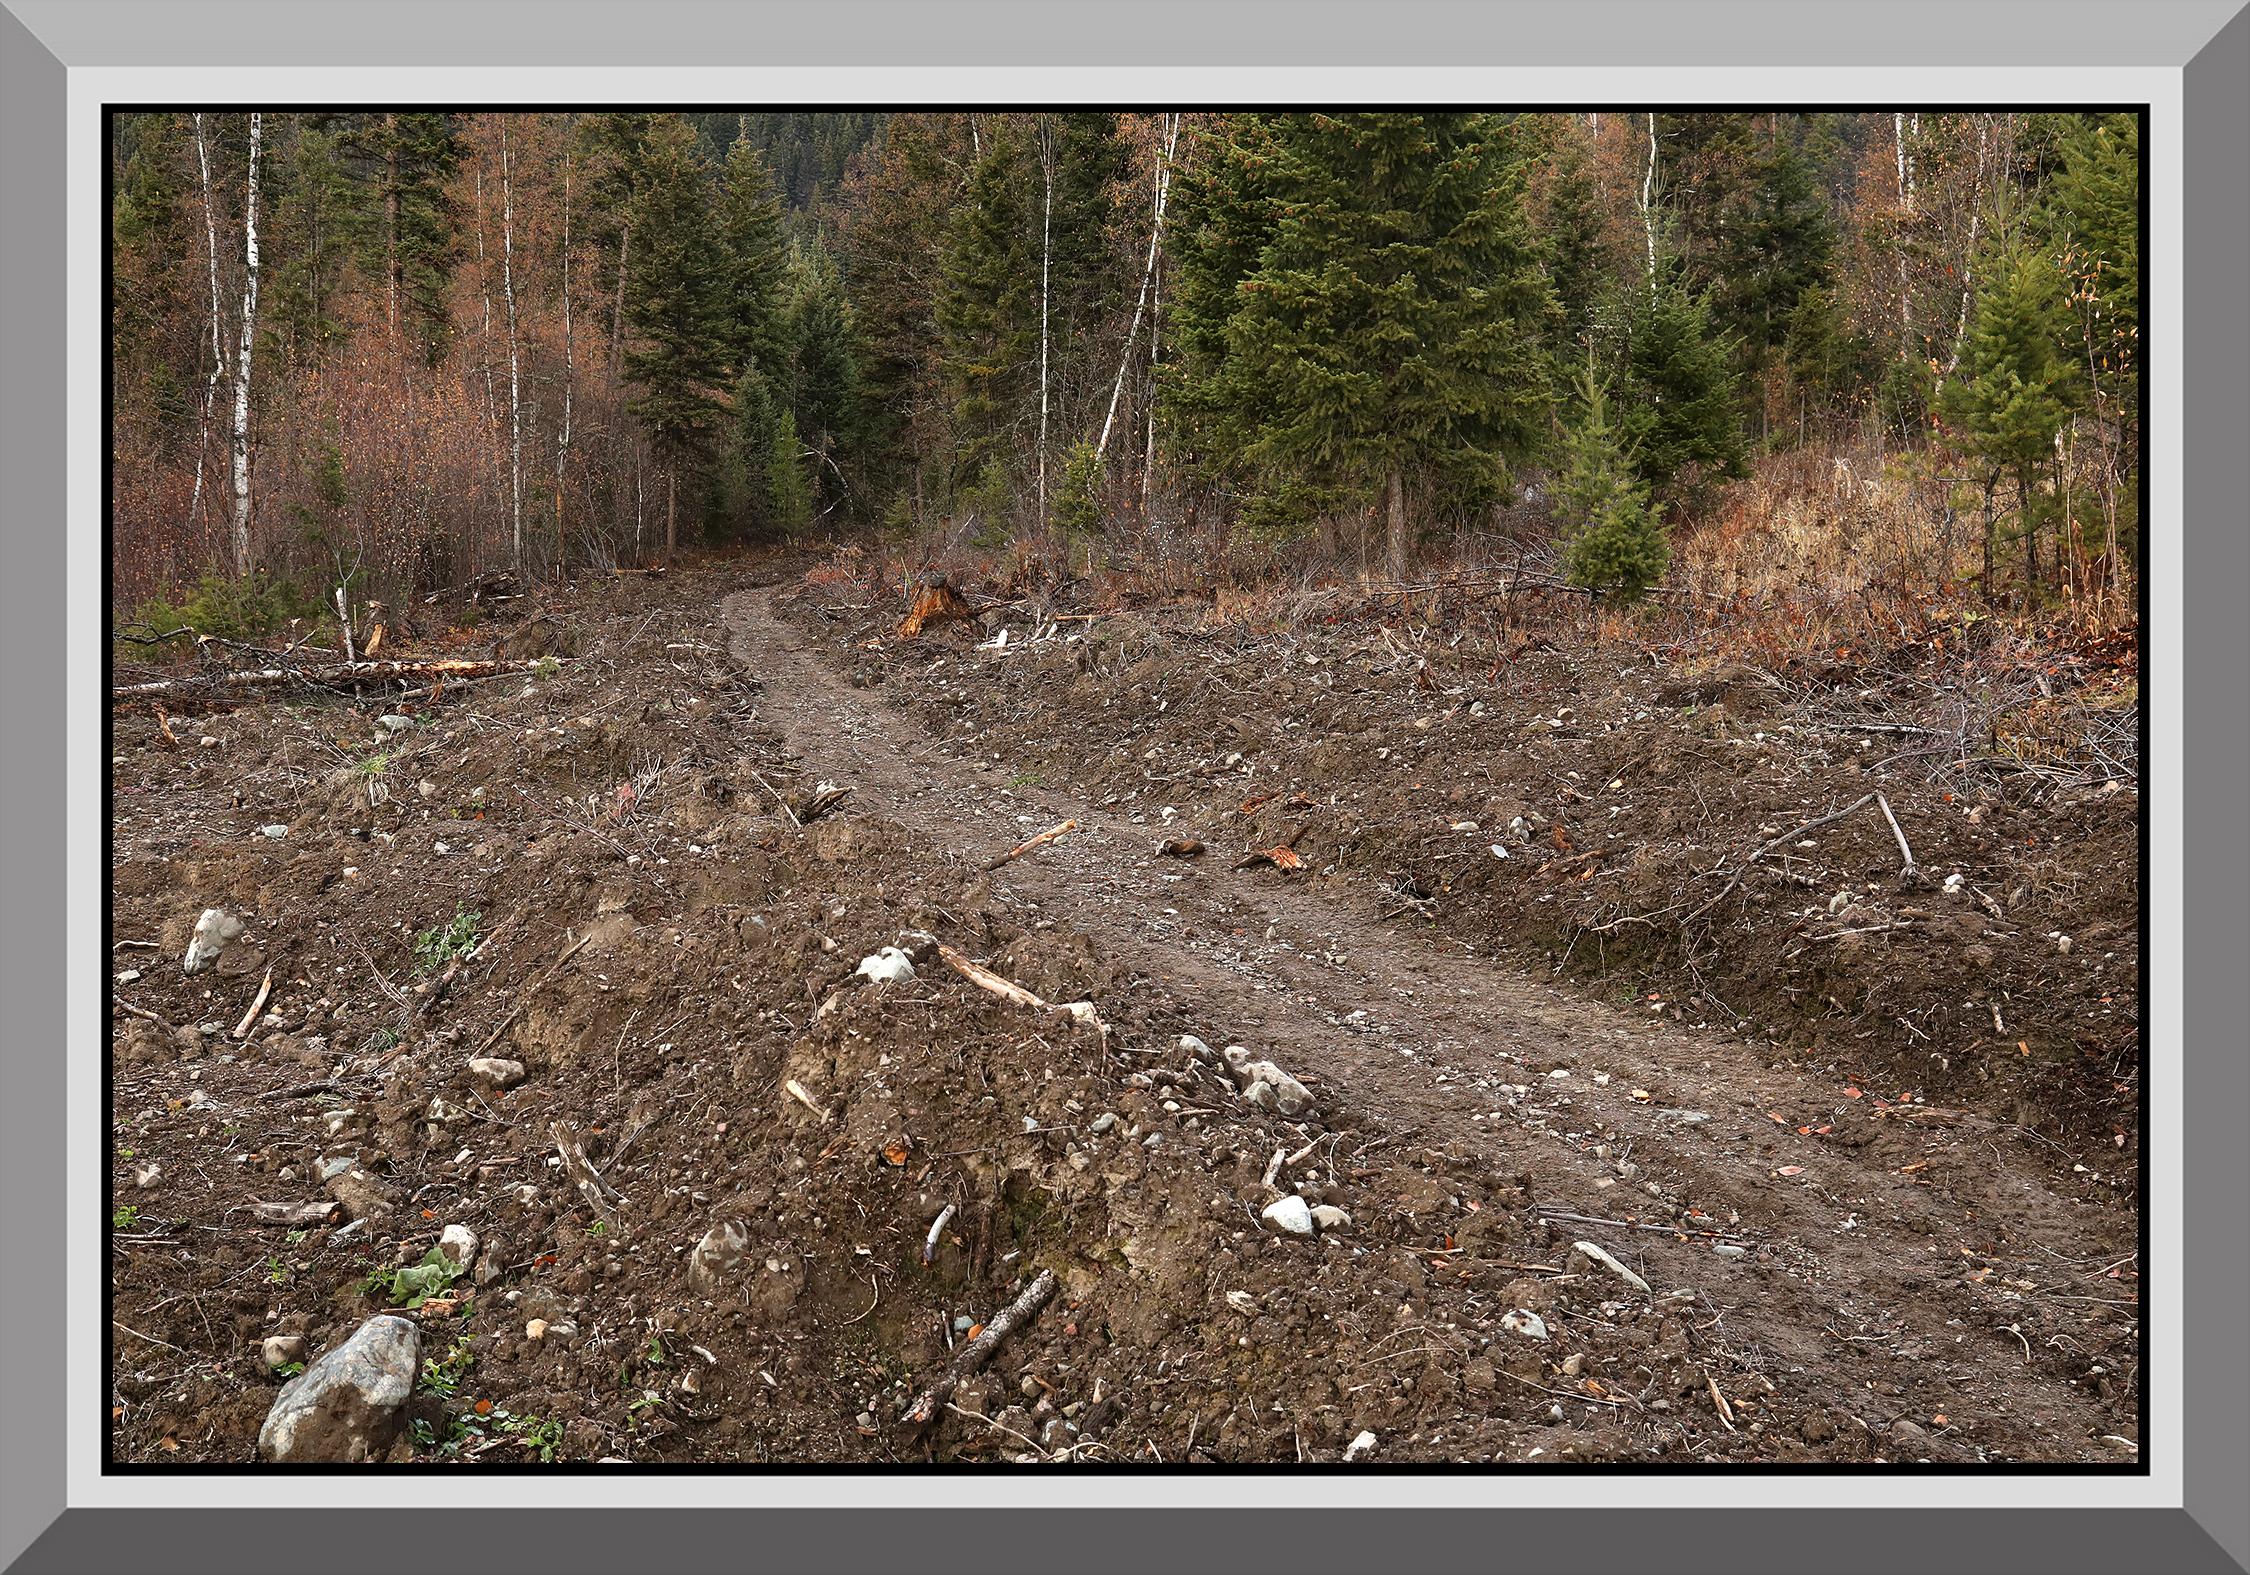
This road has been reclaimed so trucks can't drive on it, but a quad trail was left after the reclamation was completed, to allow for a planter crew to complete their job more easily and safely.
Here's another photo of a reclaimed road. It wouldn't be easy to drive on this road.
This road has been deactivated at the front, to prevent traffic, but the majority of the road hasn't been destroyed. This approach is appropriate when the road surface may be needed again in the future.
Foresters may study a block to determine the best type of site treatment, and planting contractors may study a block to determine proper pricing levels. When a planting supervisor is doing that type of a reconnaisance, it can be good to have a checklist to make notes about various characteristics of a specific block.
A similar document may be used by a government forester, although the forester's study of the block will be more scientific and go into much more detail.
Disc-trenching skidder in action.
An excavator making mounds.
Click here to see a page listing books related to reforestation in Canada. If you received a photocopied version of this book from your planting company, or you're a trainer at a Canadian planting company, click on this link for more information.